Introduction
Sourdough bread has gained immense popularity in recent years, with its tangy flavor and unique texture captivating the taste buds of bread enthusiasts worldwide. The secret behind this delightful creation lies in the sourdough starter, a natural leavening agent that adds depth and complexity to your homemade bread. In this blog post, we will take you on a journey of creating your very own sourdough starter, from scratch. So, roll up your sleeves, gather your ingredients, and let’s dive into the world of sourdough!
Gathering the Ingredients and Tools
To begin your sourdough starter journey, you will need the following ingredients:
1. Flour: Use high-quality, unbleached all-purpose flour or whole wheat flour. Avoid using self-rising flour or flour with added preservatives, as they can hinder the fermentation process.
2. Water: Filtered or bottled water is preferred to eliminate any chlorine or chemicals that may interfere with fermentation.
3. Jar or container: user something that you can cover loosely. I bought this one on Amazon and it worked until I started baking and needed more starter, and a larger jar.
4. Something to stir with. My jar came with a spatula, plus I bought these, but anything you’ve got on hand that’s tall enough to reach the very bottom of your jar so you can scrape all the flour and mix thoroughly.
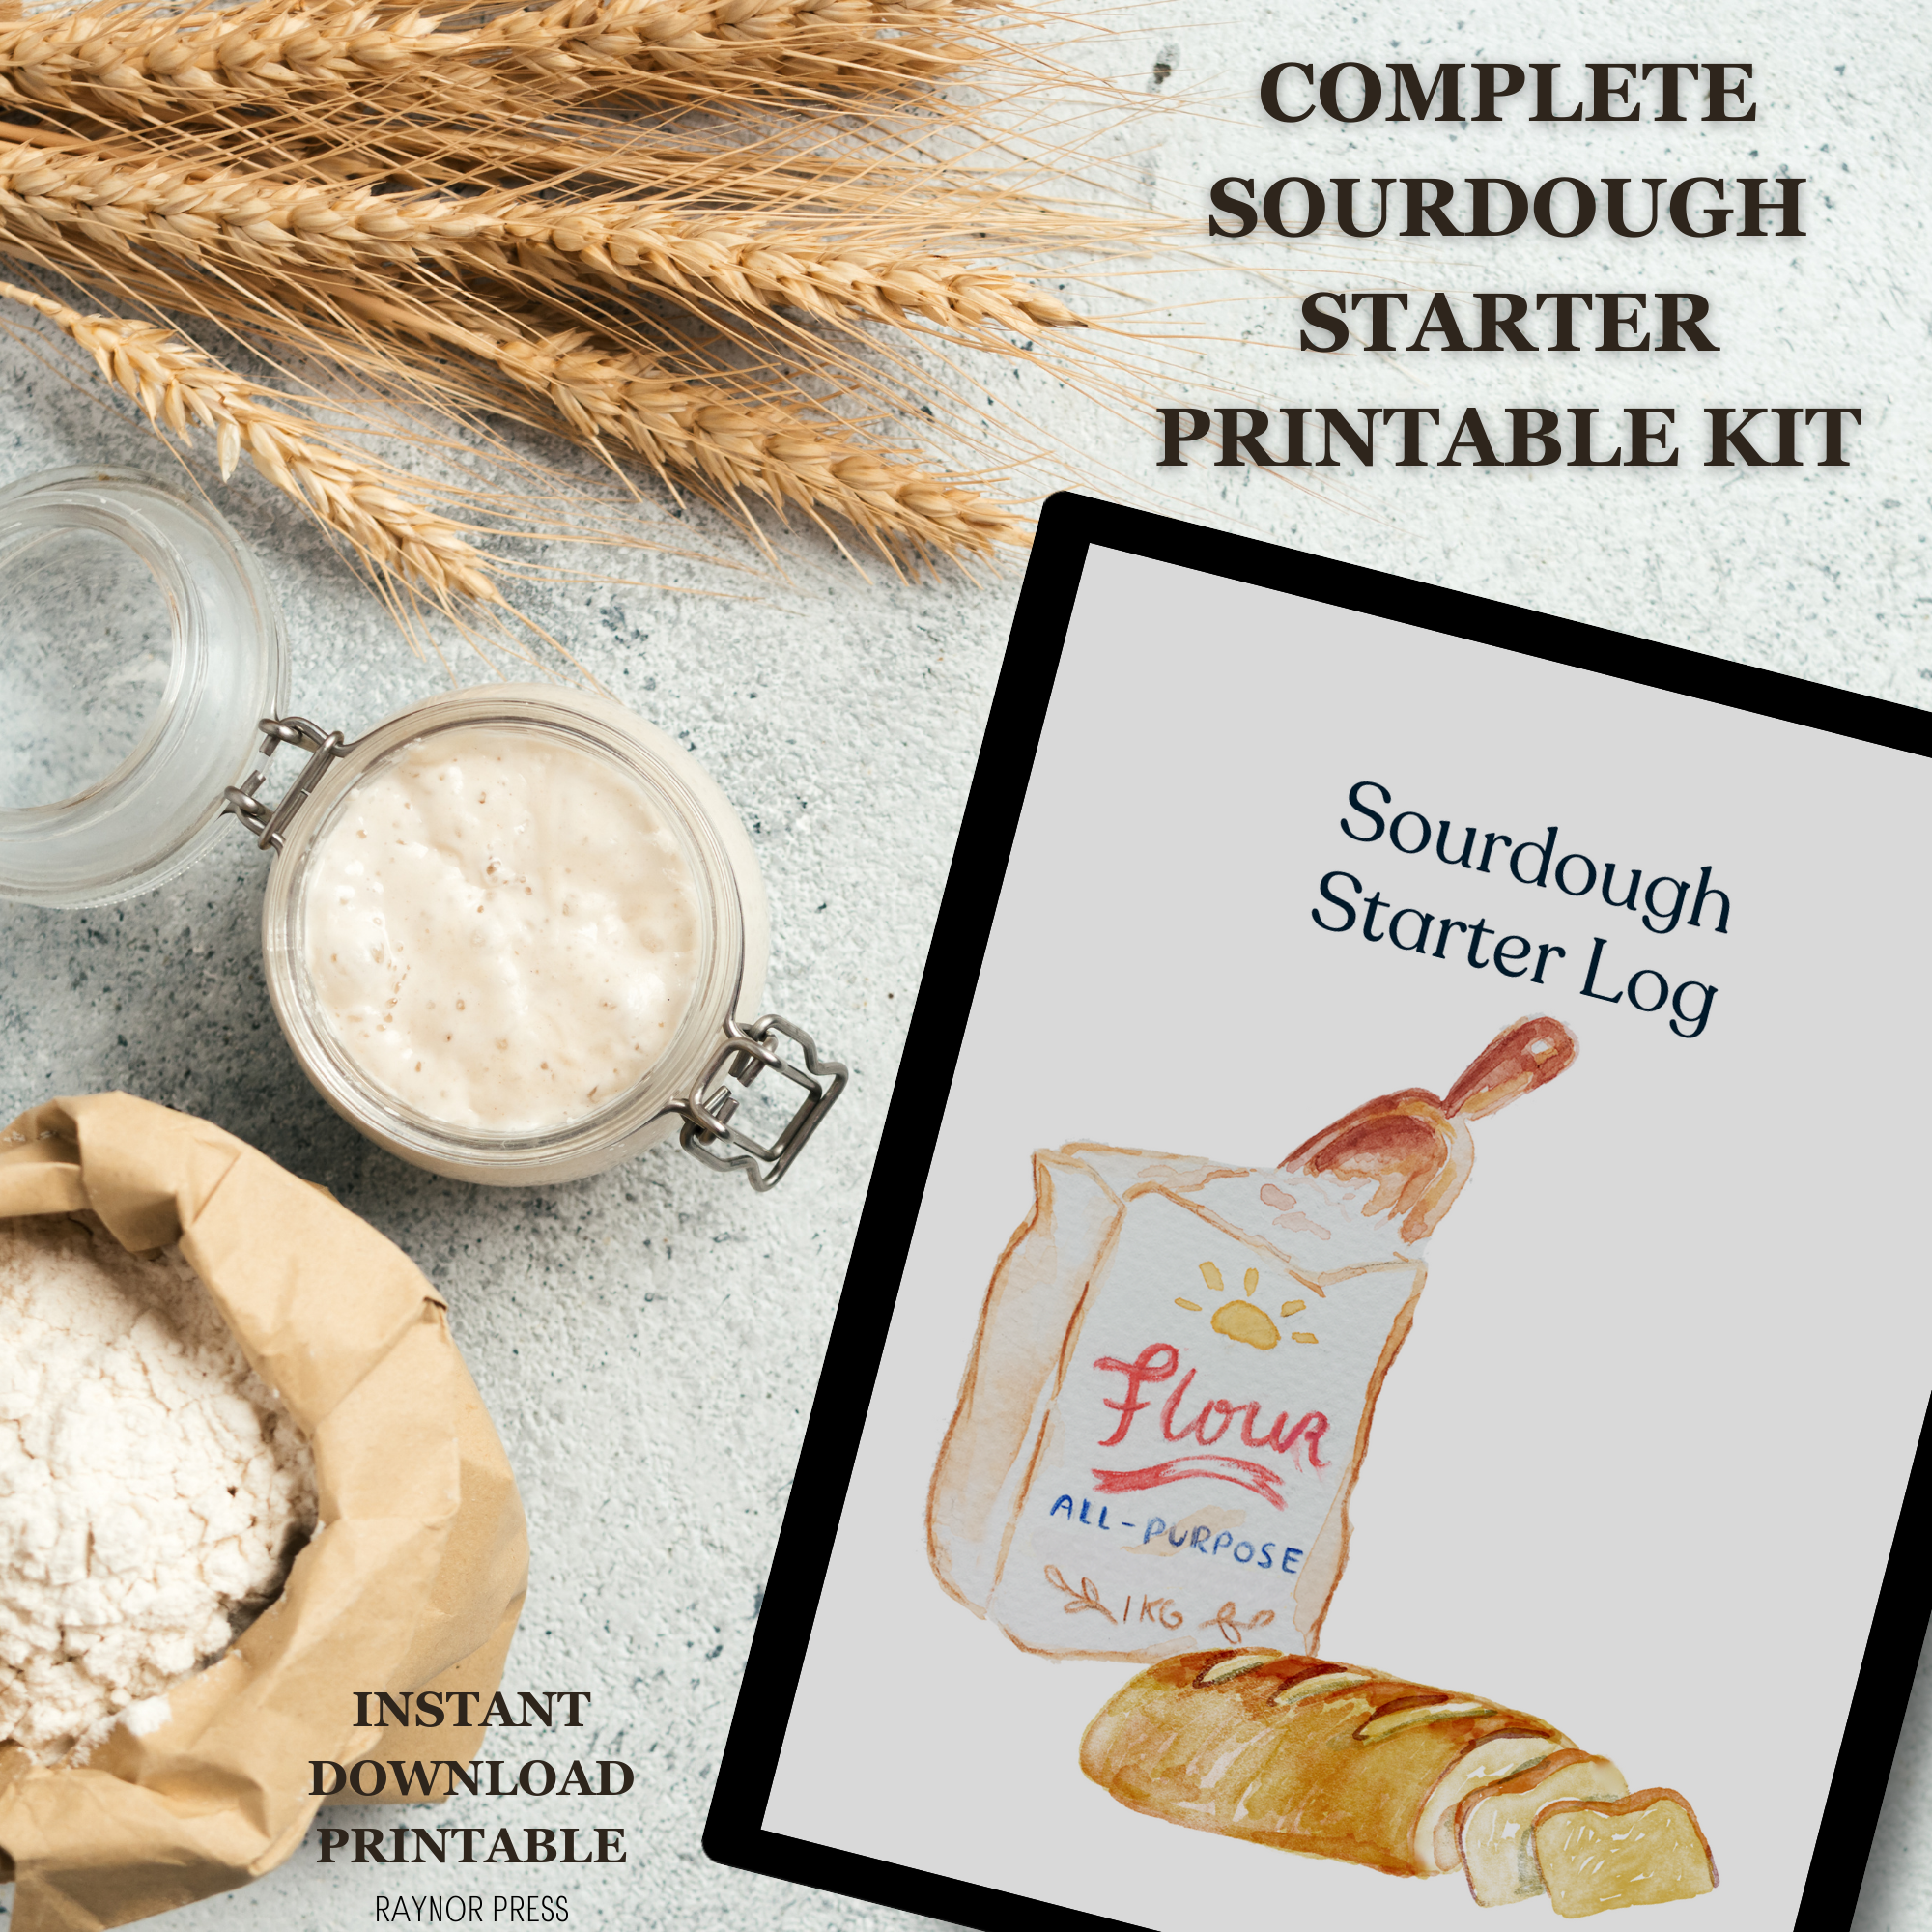
5. Log: This is optional, but very helpful! I created this sourdough starter log and it’s very popular right now in my Etsy shop! I use it to log when I feed my starter, plus it has handy recipe, planning, and notes pages.
Day 1 – Mixing the Initial Sourdough Starter
1. In a clean glass jar or container, combine ½ cup of flour with ½ cup of water. Stir well using a wooden spoon until a thick, pancake-like batter is formed.
2. Cover the jar loosely with a clean kitchen towel or plastic wrap. This allows airflow while preventing any unwanted contaminants from entering.
3. Place the jar in a warm spot in your kitchen, away from direct sunlight. The ideal temperature range for fermentation is between 70-85°F (21-29°C).
Day 2 – Feeding the Starter
1. After 24 hours, you may notice some small bubbles forming on the surface of the starter. This indicates that fermentation has begun!
2. Discard half of the starter, leaving approximately ½ cup behind. This step ensures that the yeast population remains active and healthy.
3. Add ½ cup of flour and ½ cup of water to the remaining starter. Mix well until smooth and incorporated.
4. Cover the jar and return it to its warm spot for another 24 hours.
Day 3 – Repeat and Maintain
By now, your starter should be showing increased activity, with more bubbles and a slightly sour aroma. If not, don’t worry! It may take a few more days for the fermentation process to fully develop.
1. Discard half of the starter again, leaving ½ cup behind. Add ½ cup of flour and ½ cup of water, mixing well. This feeding process should be repeated daily for the next 7-10 days.
2. As the days progress, you will notice changes in the texture and smell of your starter. It should become thicker, bubbly, and develop a pleasantly sour aroma. This indicates that the wild yeast and lactobacilli have successfully colonized your starter.
Maintaining Your Sourdough Starter
Once your starter is mature and active, it’s time to maintain it for long-term use. Keep it in the refrigerator, covered with a loose lid or plastic wrap.
Feed your starter once a week by discarding half and adding equal parts of flour and water. This helps maintain the balance of yeast and bacteria.
Before baking with your starter, take it out of the refrigerator and allow it to reach room temperature. Feed it with fresh flour and water, and let it sit for a few hours until it becomes bubbly and active.
Your Sourdough Journey
Congratulations! You have successfully embarked on the journey of creating your own sourdough starter. With a little patience and regular maintenance, your starter will become a reliable companion for baking delicious and flavorful sourdough bread.
But there can be so much more to your sourdough journey than just sourdough bread. There are a slew of sourdough discard recipes that you can make. After your sourdough starter has matured to the point you can bake with it, you can save all your discard. Baking with discard is a fantastic reason to begin and maintain a sourdough starter. In fact, I make more recipes out of my discard than my actual starter!
Stay tuned… I’ll be sharing sourdough and sourdough discard recipes often!


[…] you’re a seasoned sourdough baker or just getting started, this easy sourdough discard pancake recipe is sure to become a staple in your breakfast […]